How To Get a LCD Character Screen to Work
Today our local modder EM3Bilko, walks us through the tools needed and processes that he does to get a LCD Character screen working. Me on the other hand, I always tend to lean toward the screens that have a USB connection, which allows for a quick and easy installation… Ok you can call me lazy… Lets see how EM3Bilko does it though. The first thing that needs to be done is to gather all material for this project. Material List: 1 LCD character screen (HD44780 controller or compatible) size isn’t important)
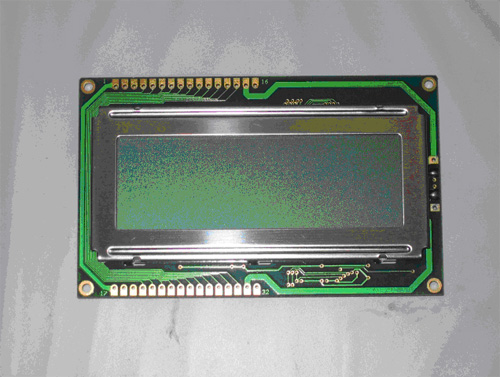
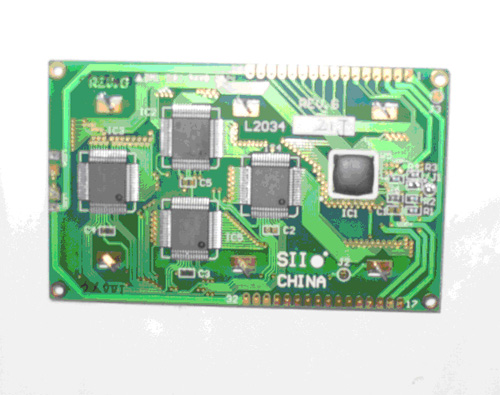
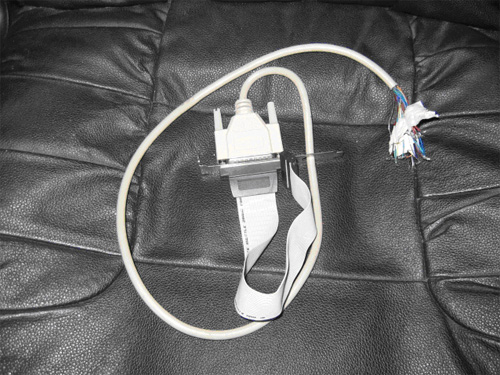
1 Parallel Port Printer cable
Soldering iron
Resin core solder
Schematic (wiring diagram) there are several available and not all work with all LCD’s, this was a hit or miss situation for me, it was my 3rd schematic that finally worked for me.)I will be showing only the one that worked for me.) Power Connector (Molex or USB) I used a Molex but USB is as good, it is for 5 volts only) Multi-meter (Ohm meter).
Software (there are many available, here is a short list of a few that are free to download)
1. jaLCD ) this is the one I use.)
2. LCDStudio (http://www.lcdstudio.com/site20/home.php)
3. LCDHype (http://lcdhype.de/)
4. LCDSmartie (http://lcdsmartie.sourceforge.net/)
5. Liquid-MP3 ) WinAmp plug-in)
6. Port95nt ) this program is required for opening the printer port for instructions from the software that is used.) Extra Parts that help: Helping Hands (project holder)


Nice, but this parallel port is so 90s. Not many modern mobos (and by that, I mean Core2 LGA775 and newer) still have one, and why bother, if you can get an Arduino (they were already available and popular in 2012), add an LCD shield, then connect this directly to the mobo via one of the USB ports?
I think this was from an archive post in 2007. The date was just marked as 2012 when the server moved.
You are correct Ron, this was an old post that was imported into the new theme in 2012. Krzysztof Słychań would be cool if you could do a how to on this and we can share it.