Creating Your Own Custom Decals
Want a Decal on that case window that no one else has, but don't know how to create it? In this tutorial I will explain to you how to create artwork and have it custom cut at your local Vinyl Shop. I also explain the different File Types and what the vinyl shop will need from you in order to save you time and money.
Tired of that same old Biohazard or Radioactive decal and fan grill? Perhaps it’s time you try creating your own designs for that Case Window or Fan Grill. It’s really as simple as finding a local or internet retailer and creating some good artwork. In this article I will try and describe to you the preferred artwork format that is used by manufactures today. How to create the designs, and how to export the designs as usable artwork.
The first step is knowing the different types of Image formats. Most sign and CNC shops require that artwork come in vector format. A vector format is basically the outline or trace of an image. This outline is known as line art. The reason for using this artwork format is that vinyl plotters, CNC routers and even lasers use the outline as a cut path for the blade or bit. When you give a Graphics designer this kind of artwork you are already telling him how you want the artwork to be cut out. The difference being that a .bmp, .tiffand .jpeg are all raster pixel art. Which means the image is composed of tiny little dots of color. There is no discernible path for a cutter to follow. This artwork would have to be converted to give it a cut path or Vector. In order to convert a file from a raster to a vector it must be traced and cleaned up. This takes lots of design time, and time of course is money.
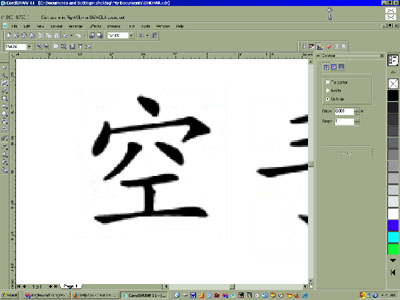
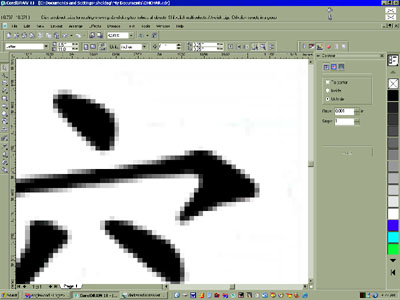
Converting Pixel artwork to lines can be time consuming and often times unsatisfactory. If your artwork is low resolution and pixelated it doesn’t really matter how long you spend cleaning up the image. You will never really achieve the clean look you want to have with your design. Sometimes it is best just to re-create your image as line from scratch. Let me show you an example of a conversion so you can see the process. Above you see an Asian character bitmap. We will use this image to demonstrate why raster pixel images make bad artwork for cutting and plotting. Here you can see that when it is blown up that it become pixelated and very fuzzy. Sort of like the images in the old Mario Bros. Games. When this image is traced it will keep that blocky shape. If you want to avoid this problem you really need to have to have high resolution artwork or Photo Ready Artwork as it is sometimes called. You will then need to Trace this image, Thereby converting it from Raster art into Vector artwork, or line art.
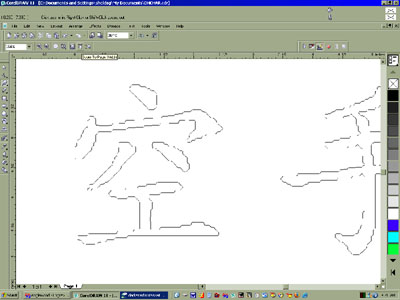
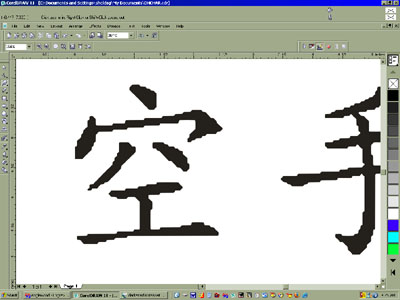
I used a handy program that comes with Corel called Corel Trace. Most graphics programs have something similar but the effect will be the same with low resolution artwork. The end result is always very blocky images. Here you can see that when it is traced and becomes a true vector file the image is in fact blocky and jagged. This is because it traced around the pixels to get the shape. In order to change this image into a smooth shape a graphics designer would have to manually alter every line and curve. Basically Slowly recreating each section and cleaning up the jaggedness. A lot of time this ends up distorting the image into something other than what it originally looked like in the bitmap. This is why raster images are not preferred for cutting or plotting.
