Storage DevicesPC Hardware Reviews
500GB SuperSpeed USB 3.0 2.5in External Hard Drive Geek Kit
« Page 2 | Page 4 »
Installation |
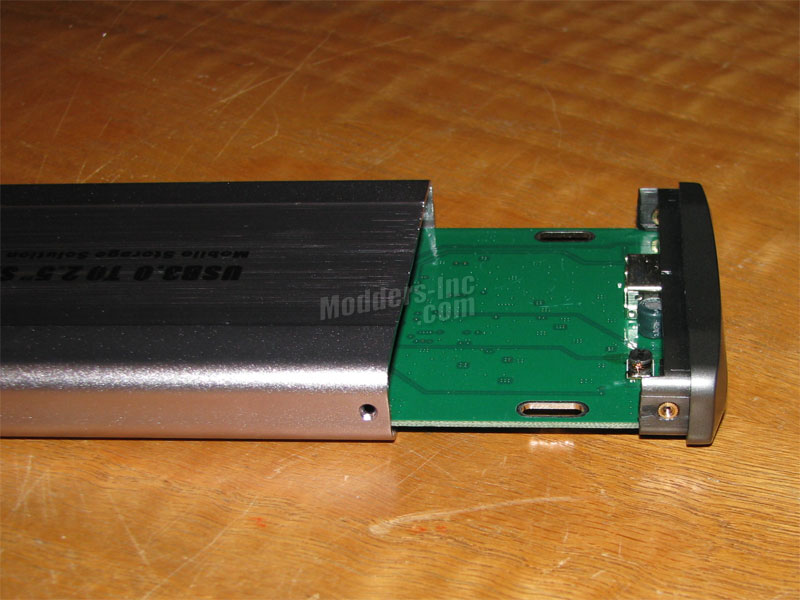 
The installation process is fairly simple with the Geek Kit. The first thing we want to do is open up the enclosure so we can mount the hard drive. To open the USB 3.0 Enclosure up, we just need to remove the two small Phillips screws (one on each side of the end cap).
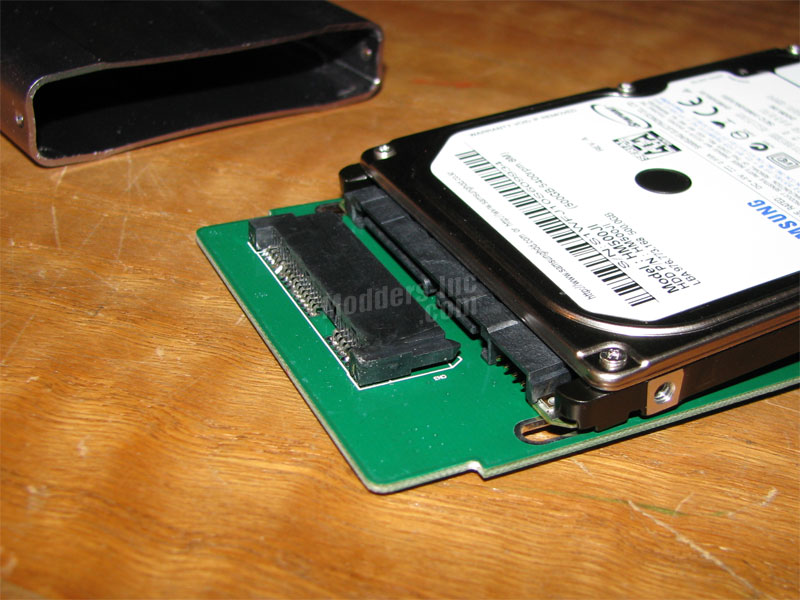 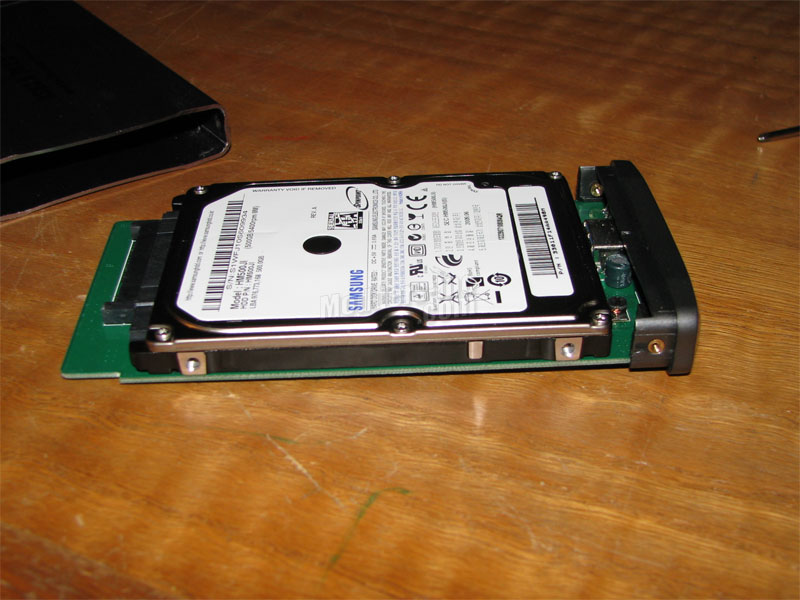
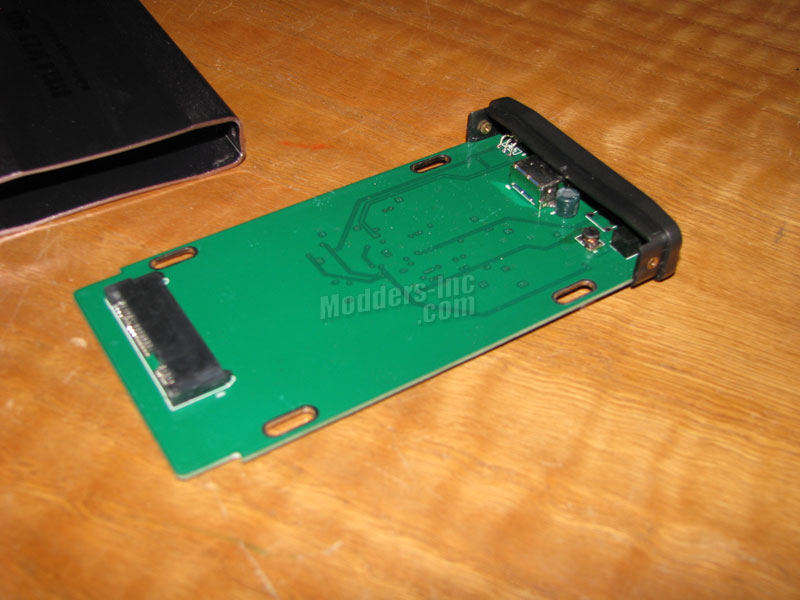
We then slip the hard drive into place ensuring to line up the SATA connectors on the board with the drive. Once the drive is slid all the way in place it will sit flush on the board .
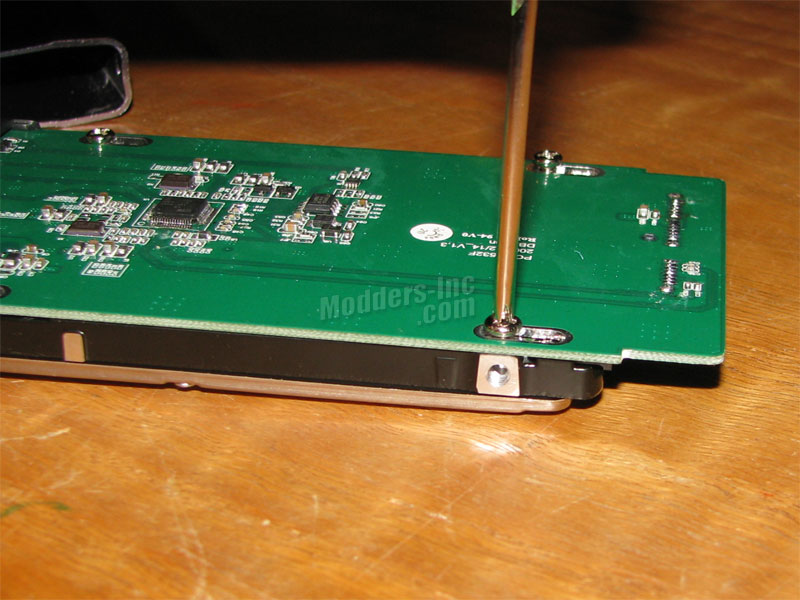 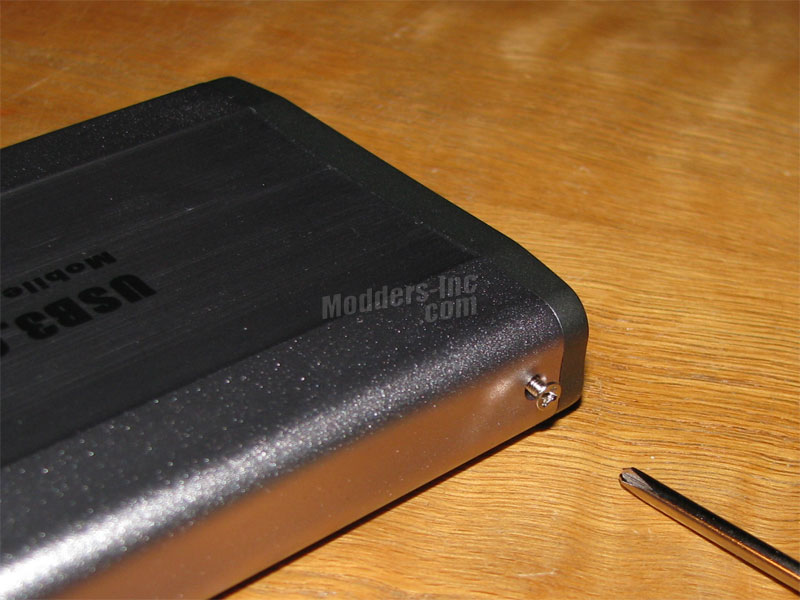
Next we flip the board and drive over (make sure to hold onto both pieces so as to not break the SATA connectors). Then all you have to do is install 4 more Phillips screws to secure the drive to the board. Lastly, we slip the configuration back into the housing and secure it with the 2 Phillips screws we removed at the start.
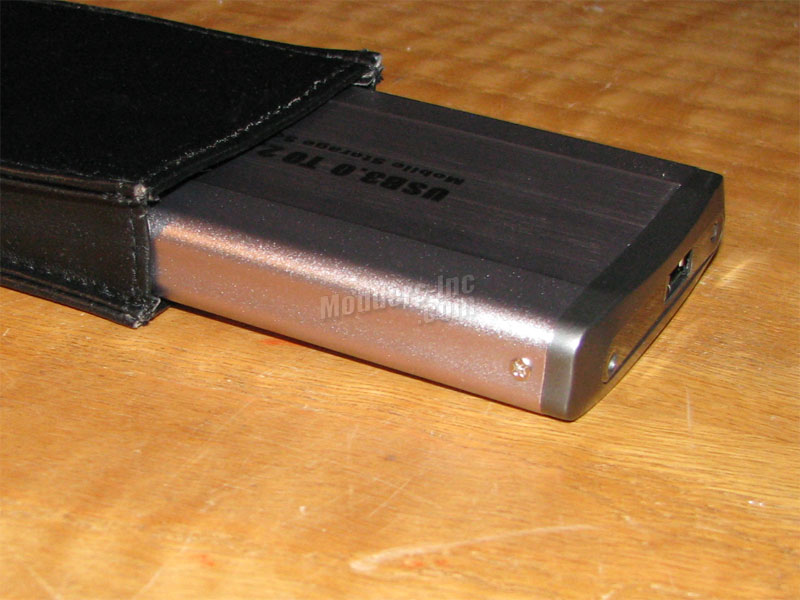 Slide the enclosure into the leather pouch and you are ready to move on to the Express Card side of it. 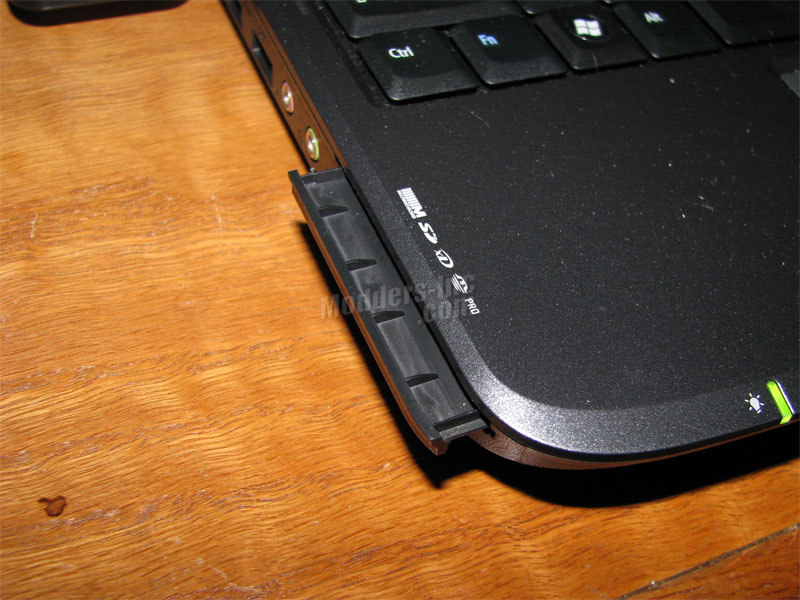 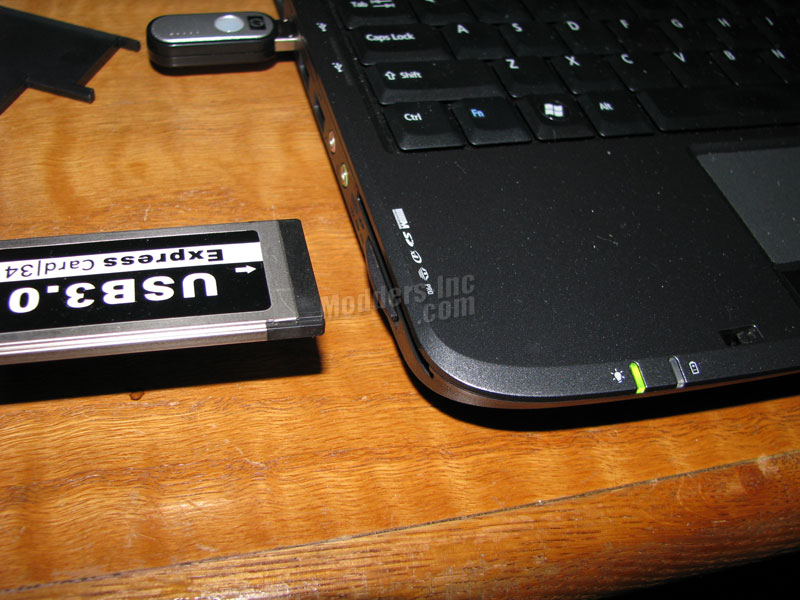 Installing the Express Card is simple enough as well. Simply push in on the slot cover on your laptop / notebook and it should pop out a little. Gently slid it out, sitting it aside until you are done. 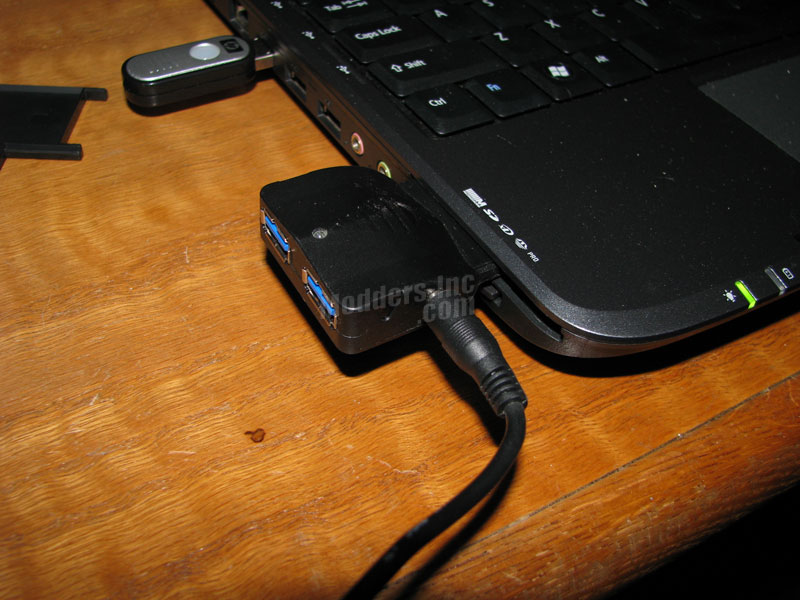 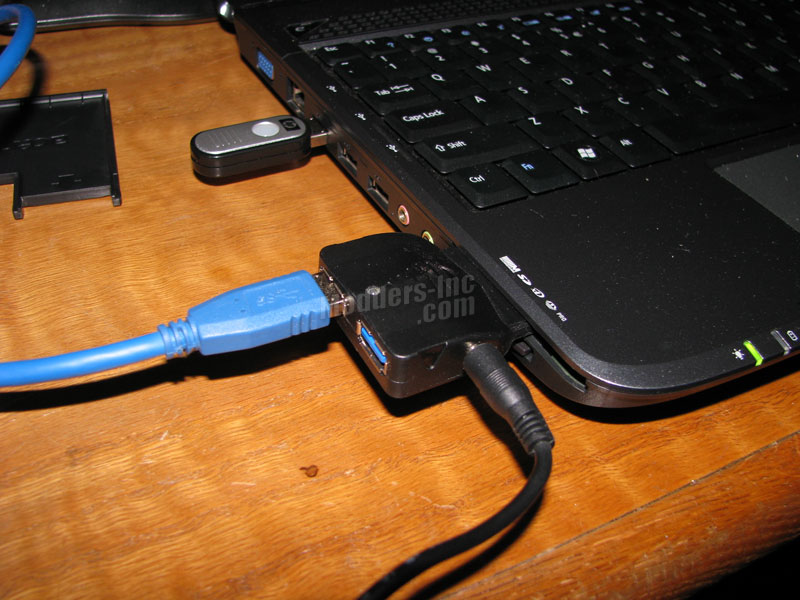 Slide the Express card into the laptop making sure you feel it click into place. You might find it easier to connect the power cable and USB 3.0 cable prior to inserting the Express Card. Either will work, you just have to make sure you don’t disengage the Express Card if you do the USB 3.0 cable last. |
