Making a Test Power Supply
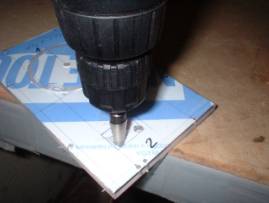
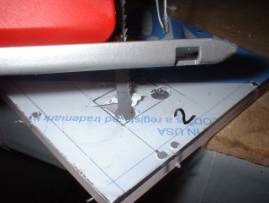
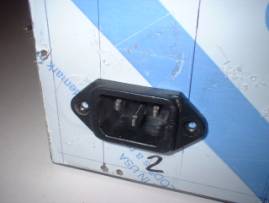
If you are going to use a jig saw always drill holes first, either in the corners or somewhere on a straight line. Make sure the hole(s) are big enough so the blade fits in it. What I'm going to be cutting out here is the hole for the power receptacle and a slot. I'm going to be routing the wires so that they come out the back of the PSU instead of the front like a normal PSU.


I used the hole cutter to make my holes in the Lexan. When cutting the hole it is best to use a drill press. If one is not available then clamp down the piece and use a variable speed drill on a medium to slow speed. Using a high-speed drill can be hard to handle. I like using an old gutted fan for a template to drill the mounting holes. This way I know for sure that they will be right!

Here I drilled holes in the top part of the case. I will be installing Banana Plug receptacles for my additional testing voltage leads. Just drill the holes where you want them and install the receptacle. It has a nut (not shown) to secure it in place.


