Making a Test Power Supply
These two guides are based on our recent "Test PSU" guide, in it we show how to turn an old PSU into an external independent test PSU… Build the test PSU, mod the hell out of it and use it to power desk, monitor, mouse pad, keyboard, printer or speaker lighting mods, why limit the mods to the inside of your PC?
WARNING: USE EXTREME CAUTION WHEN OPENING, HANDLING OR MODIFYING A POWERSUPPLY. THERE ARE CIRCUITS/PARTS INSIDE THAT HOLD AN ELECTRICAL CHARGE EVEN WHEN POWERED DOWN THAT IF TOUCHED OR HANDLED INCORRECTLY CAN CAUSE SERIOUS INJURY OR DEATH. WORSE YET, IT COMPLETELY VOIDS YOUR WARRANTY. YOU HAVE BEEN WARNED, ATTEMPT THIS GUIDE ENTIRELY AT YOUR OWN RISK.
I had first decided to just go for a testing PSU mod. After drawing it out and planning it I knew I had to go all the way with this thing. My final draft was to make it look like my PC as much as possible. Instead of just cutting off all the wires that went to the motherboard, I decided to use them for more voltage testing ports. There are many possible voltages to work with. Coming off the old MOBO wires we have 3.3(orange), 5(red) and 12(yellow) vDC. If we take these and use them in different combinations we now have 1.7 (5-3.3= 1.7), 7(12-5=7) and 8.7(12-3.3=8.7) volts available to use.
DO NOT TRY THIS WITH AC VOLTAGE! You can only do this with DC voltage.
So here is my creation, it's about 1/3 the size of Lucid Dream. I like to call him Mini Dream.
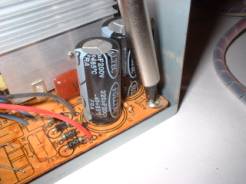
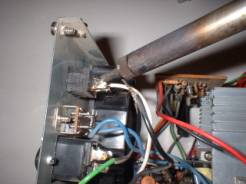
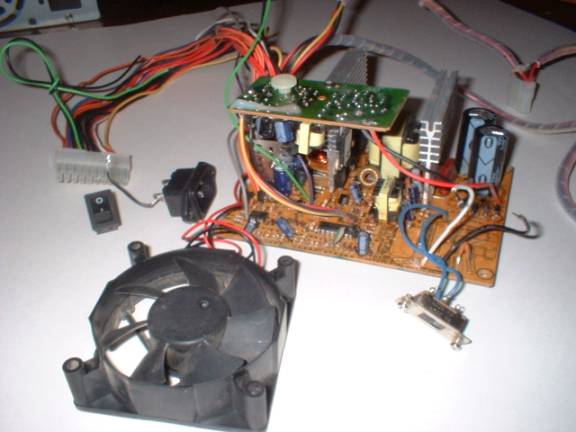
Disassembly of an old, and I mean OLD, Power Supply Unit as you can see from all the dust.
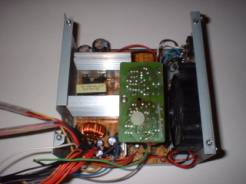
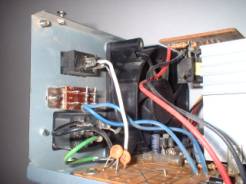
The naked PSU. Look at all those wires. I plan on using some of the wires and removing others during the mod. I had already cut the green and black wire a I�m going to install a switch on the front of the new case so that I can turn it on and off when needed.
Here are the inch thick pieces of Lexan that will make up my modded PSU.
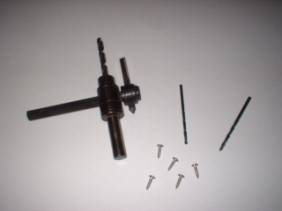
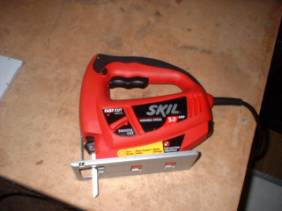
Some of the tools I'm going to use. Drill bits, hole cutter, #6 stainless steel screws and a jig saw.
