A Step-by-Step Guide to Shooting Paint: Stepping Away From Black
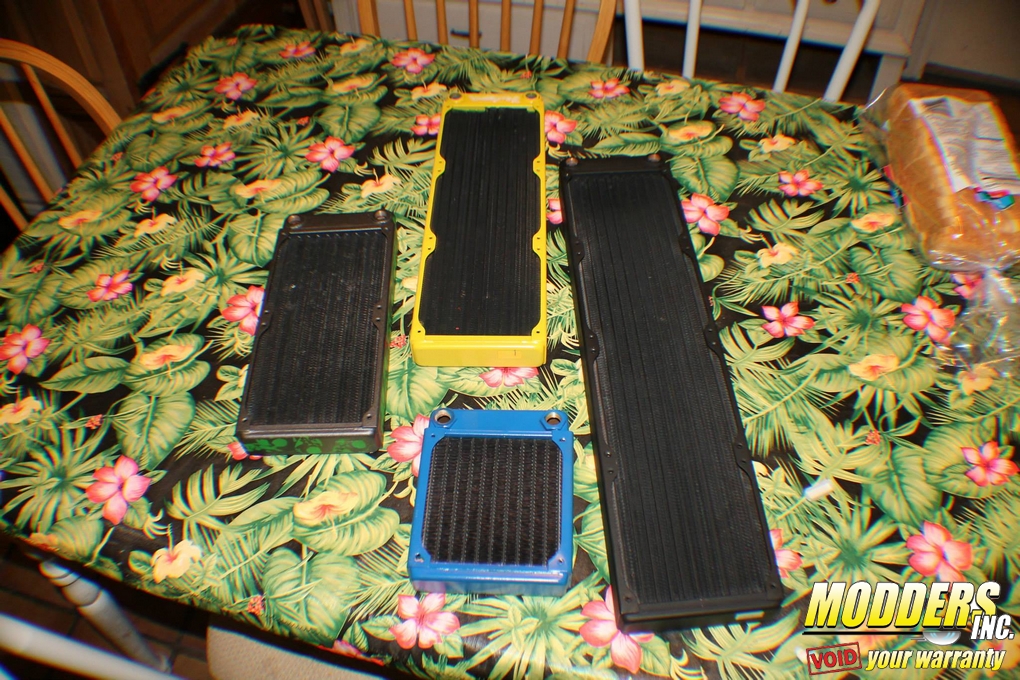
One of the easiest mods you can do for your build is adding some color. Whether it be a case, radiator, graphics card cooler or the heat sinks on your RAM, a little pop of color can go a long way. I am going to show you a step-by-step process on how I paint my hardware. I’m not saying this is the only way to paint but it is the process that has given me the best results.
Difficulty Level: Intermediate
Step 1: Sanding
First up is sanding– With sanding, the key is to rough up the surface so that the new paint has something to stick to. All you have to do is rough up the surface (Take the shine off). You do not need to go all the way down to the bare metal. It is best to use a fine sand paper about 1000 grit wet/dry. If you are going to use a sander like I do, be sure and let the tool do the work. Don’t push your weight down on it.
Step 2: Wash
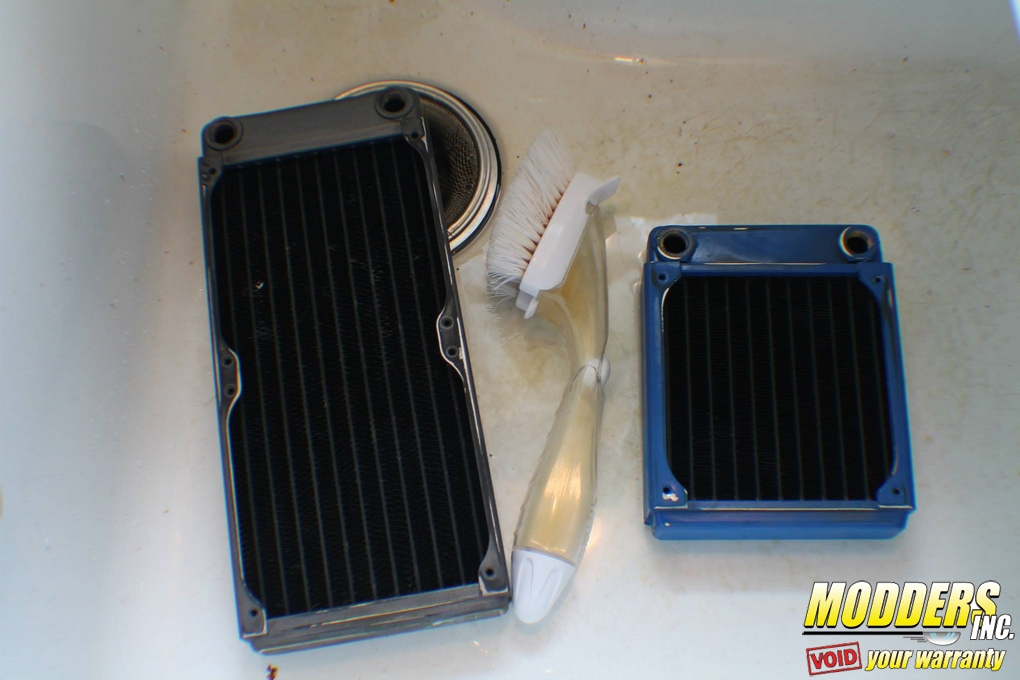
Wash – Always wash your parts after you sand them with a light soapy solution and warm water using a medium bristle brush. This gets all the little dust, paint and sandpaper particles off. This is the second most crucial step in painting. If you skip this step I don’t care how good you are at shooting paint or how expensive your paint is if you skip this step the end result will not come out well.
Step 3: Dry
Use a soft lint free cloth(Shammy) to dry your subject. (In this case with radiators it is best to hang them to dry so all the fins get dry…… It is CRUCIAL that from this point on that you DO NOT touch your painting subject with your bare hands from this point on. The oils left by your fingers will cause the paint to lift, thus ruining your paint job and all your hard work. Wear a pair of rubber gloves(without powder) or keep your Shammy handy.

